|
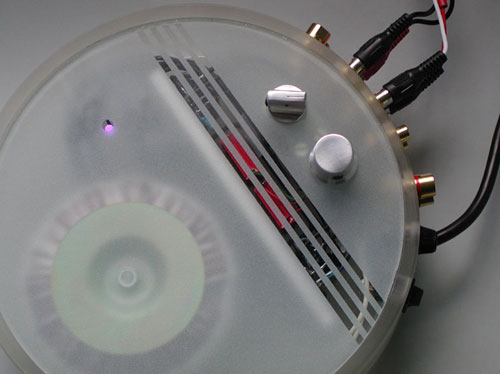
Below is the gainclone I have made for the friend. Actually, he was responsible for the case. |
|
|
|
|
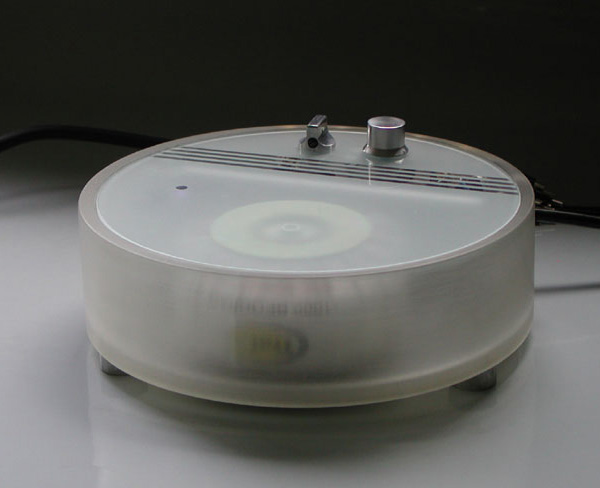 |
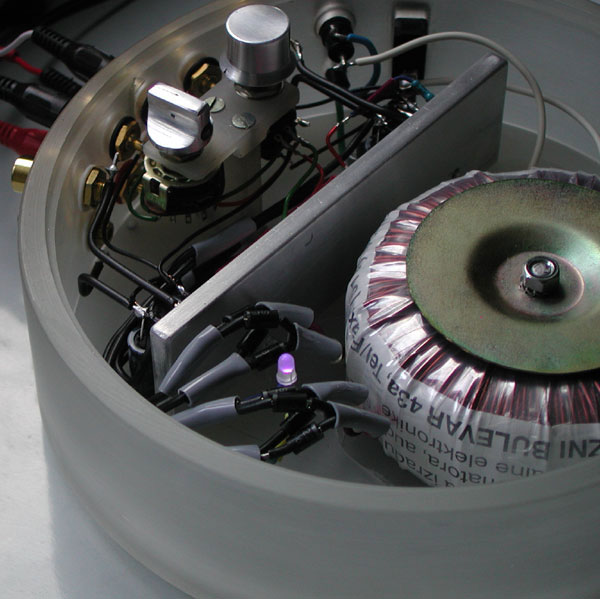
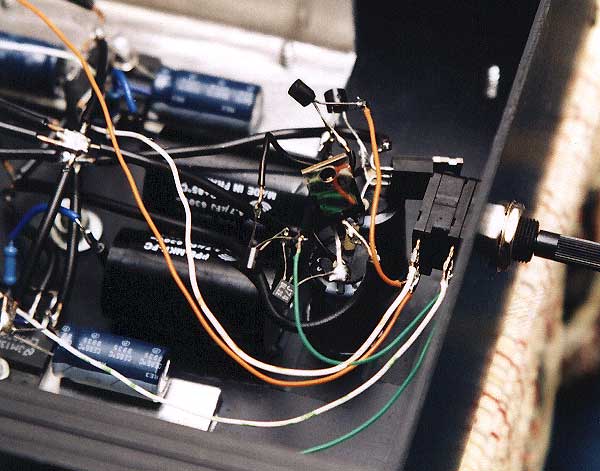
This amplifier is undoubtedly an "integrated" one. It has three inputs, and considering that fact, quite short signal path. There is no input buffer here since the amp was made before my experiments with it. Though the chips are very close to the transformer, regarding the hum, this amp is dead quiet (in Japanese amps heatsinks always separate transformers from the active circuits and Japanese amps never hum, isn't it?). Since that piece of aluminum is the only heatsink and the air in the case is practically closed, after a couple of hours this amp becomes hot. (Later small PC heatsinks are added and slots in the case were drilled.)
|
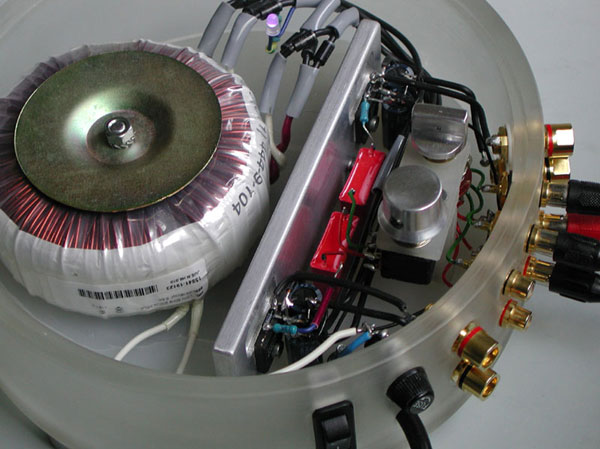 |
All the wiring here is the solid core. It is not always convenient to work with thicker wires for the PS, but if you ask me, there is no the other option.
|
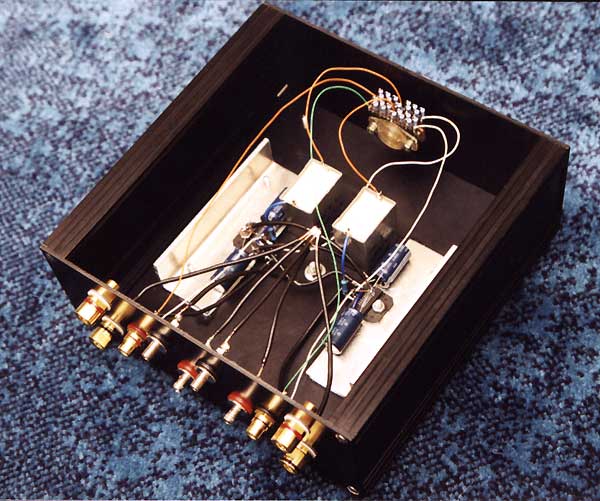
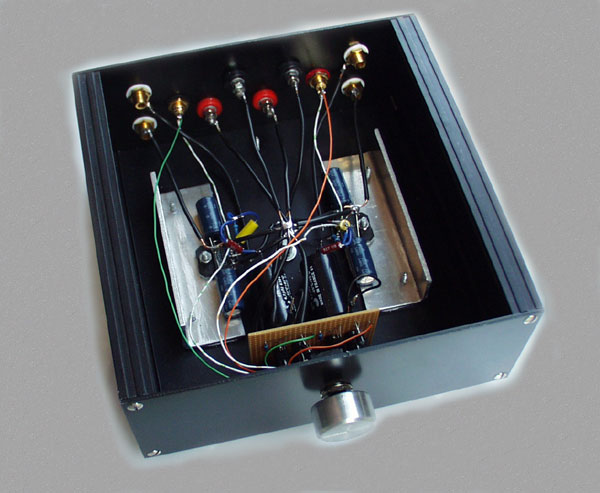
And this is my amp. Actually, this is the way it looked when I sorted it for the first time. Later, many things were changed. The PS wiring is intended for one supply for the both channels. The amp sounds better if speaker grounds are connected to the appropriate PS caps central point (see pics below). Since I had a plan to experiment, the layout is not as tight as possible.
|
 |
|
Next picture shows the early phase of the JFET games. At the faceplate it is pretty cheap Piher potentiometer. Available locally for less than 3EUR. Cheap enough for carefree play of the linear/logarithmic/this value/that value games. Good enough to hear what is done, though its overall tonal balance can be described as murky. Its real shortcoming is the terrible channel tracking. Both step attenuator (above) and blue ALPS (below) are cleaner sounding solutions but for the difference in price they should be. Axons as input caps in the background. For me, they are slightly better than WIMAs. Both are better than Arcotronics. Differences are very small though and YMMV. None is expensive.
|
 |
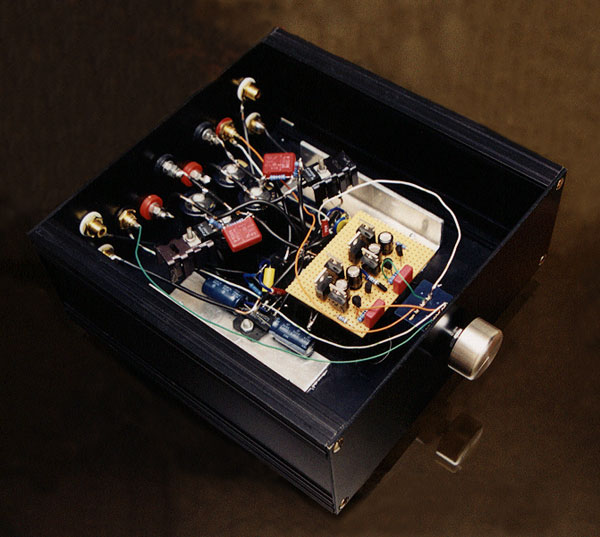
The LPF included and the buffer moved to the perforated board.
|
 |
The LM338 based regulated supply included. Note that the heatsinks for the LM338 shown at this picture are adequate only for a low level listening.
|
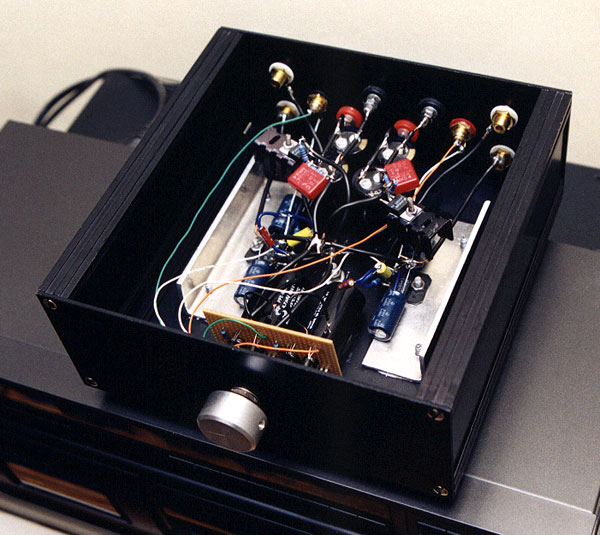 |
Then the buffer received the cascode. In the background, LM338's still waiting for more heatsinking... This might not be as simple as the gaincloning concept normally is, but the thing is in fact less messy thant it seems at this picture. And it sounds excellent.
|
 |
|